Vagrant 사용
Vagrant
가상 환경 구축 도구
OS(가상 머신)의 생성, OS 설정, OS 구축 후 설정(미들웨어 구축이나 어플리케이션 Deploy 등)의 작업을 Code화 하는 것이 가능
Vagrant by HashiCorp
Vagrant enables users to create and configure lightweight, reproducible, and portable development environments.
www.vagrantup.com
Vagrant 설치
VirtualBox가 설치되어 있어야 함
공식페이지에서 자신의 환경에 맞는 파일을 다운로드하면 된다.
vagrant --version 을 통해 설치 확인 가능

Vagrant 명령어
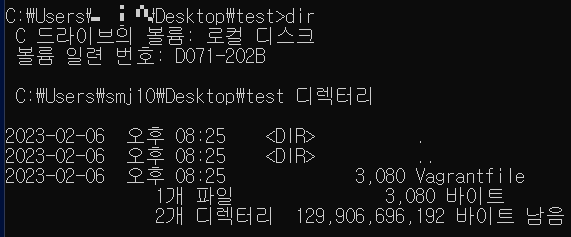
vagrant initvagrant를 실행하기 위한 명령어
실행하기 위한 test 디렉토리를 만들어 준 후 해당 명령어를 사용함

Vagrantfile이 생성
해당 파일은 ruby 문법으로 작성되어 있음
# -*- mode: ruby -*-
# vi: set ft=ruby :

# All Vagrant configuration is done below. The "2" in Vagrant.configure
# configures the configuration version (we support older styles for
# backwards compatibility). Please don't change it unless you know what
# you're doing.
Vagrant.configure("2") do |config|
  # The most common configuration options are documented and commented below.
  # For a complete reference, please see the online documentation at
  # https://docs.vagrantup.com.

  # Every Vagrant development environment requires a box. You can search for
  # boxes at https://vagrantcloud.com/search.
  config.vm.box = "base"

  # Disable automatic box update checking. If you disable this, then
  # boxes will only be checked for updates when the user runs
  # `vagrant box outdated`. This is not recommended.
  # config.vm.box_check_update = false

  # Create a forwarded port mapping which allows access to a specific port
  # within the machine from a port on the host machine. In the example below,
  # accessing "localhost:8080" will access port 80 on the guest machine.
  # NOTE: This will enable public access to the opened port
  # config.vm.network "forwarded_port", guest: 80, host: 8080

  # Create a forwarded port mapping which allows access to a specific port
  # within the machine from a port on the host machine and only allow access
  # via 127.0.0.1 to disable public access
  # config.vm.network "forwarded_port", guest: 80, host: 8080, host_ip: "127.0.0.1"

  # Create a private network, which allows host-only access to the machine
  # using a specific IP.
  # config.vm.network "private_network", ip: "192.168.33.10"

  # Create a public network, which generally matched to bridged network.
  # Bridged networks make the machine appear as another physical device on
  # your network.
  # config.vm.network "public_network"

  # Share an additional folder to the guest VM. The first argument is
  # the path on the host to the actual folder. The second argument is
  # the path on the guest to mount the folder. And the optional third
  # argument is a set of non-required options.
  # config.vm.synced_folder "../data", "/vagrant_data"

  # Provider-specific configuration so you can fine-tune various
  # backing providers for Vagrant. These expose provider-specific options.
  # Example for VirtualBox:
  #
  # config.vm.provider "virtualbox" do |vb|
  #   # Display the VirtualBox GUI when booting the machine
  #   vb.gui = true
  #
  #   # Customize the amount of memory on the VM:
  #   vb.memory = "1024"
  # end
  #
  # View the documentation for the provider you are using for more
  # information on available options.

  # Enable provisioning with a shell script. Additional provisioners such as
  # Ansible, Chef, Docker, Puppet and Salt are also available. Please see the
  # documentation for more information about their specific syntax and use.
  # config.vm.provision "shell", inline: <<-SHELL
  #   apt-get update
  #   apt-get install -y apache2
  # SHELL
end
이를 다시 정리하자면 다음과 같은 코드를 확인할 수 있음
Vagrant.configure("2") do |config|
  config.vm.box = "base"
end
box에 base라고 지정되어 있는 것을 볼 수 있음
*box란? 이미 만들어진 vm 이미지를 복제하는데, 이때 이미지를 의미
box: https://app.vagrantup.com/boxes/search?provider=virtualbox
해당 링크에서 확인하고 지정하여 사용 가능
box 추가
vagrant box list
vagrant box add bento/ubuntu-16.04
list를 통해 확인해보면 현재 centos/7만 존재함
ubuntu를 추가해주었고 이를 다시 확인해보니 추가된 것을 확인


box 삭제
vagrant box remove bento/ubuntu-16.04해당 명령어를 통해 box를 삭제

다시 돌아와 centos/7으로 진행을 해보자.
Vagrantfile의 box에 지정
Vagrant.configure("2") do |config|
  config.vm.box = "centos/7"
end
혹은 처음부터 초기화를 통해 지정할 수도 있음
vagrant init centos/7
이제 VM을 생성해보자.
vagrant up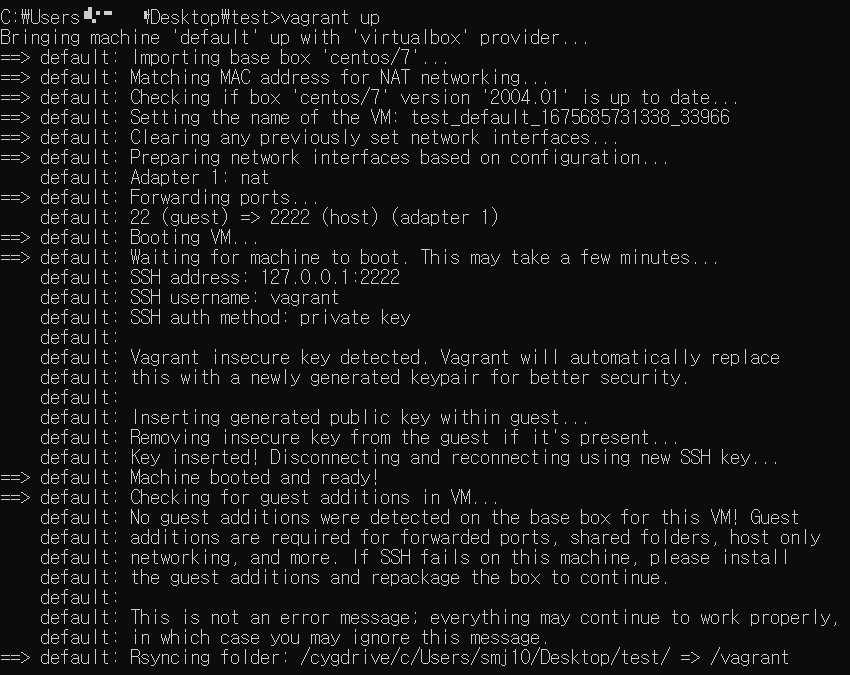
실제로 VirtualBox에도 VM이 생성된 것을 확인

이제 접속해보자.
vagrant ssh
exit를 통해 빠져나올 수 있음
해당 가상머신을 정지해보자.
vagrant halt
가상머신을 삭제할 수도 있다.
vagrant destroy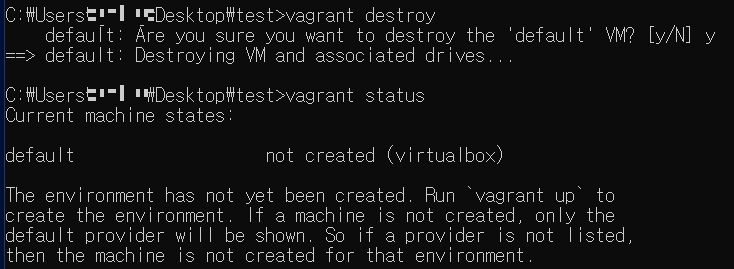
VirtualBox에서도 삭제된 것을 확인 가능
<출처>
IT 운용 체제 변화를 위한 데브옵스(DevOps)
https://dev-yakuza.posstree.com/ko/environment/vagrant-install-and-usage/